Steps to Follow: Creating Images
1) Open Google Drawings: In this step, you open Google Drawings and create your first image or “slide” in your animated GIF sequence. Encourage students to map out their images. They can use a paper storyboard or an outline. This will eliminate the need for revisions.
2) Create your first image: In this step, you are going to create your first image. Here’s my first image in my example:
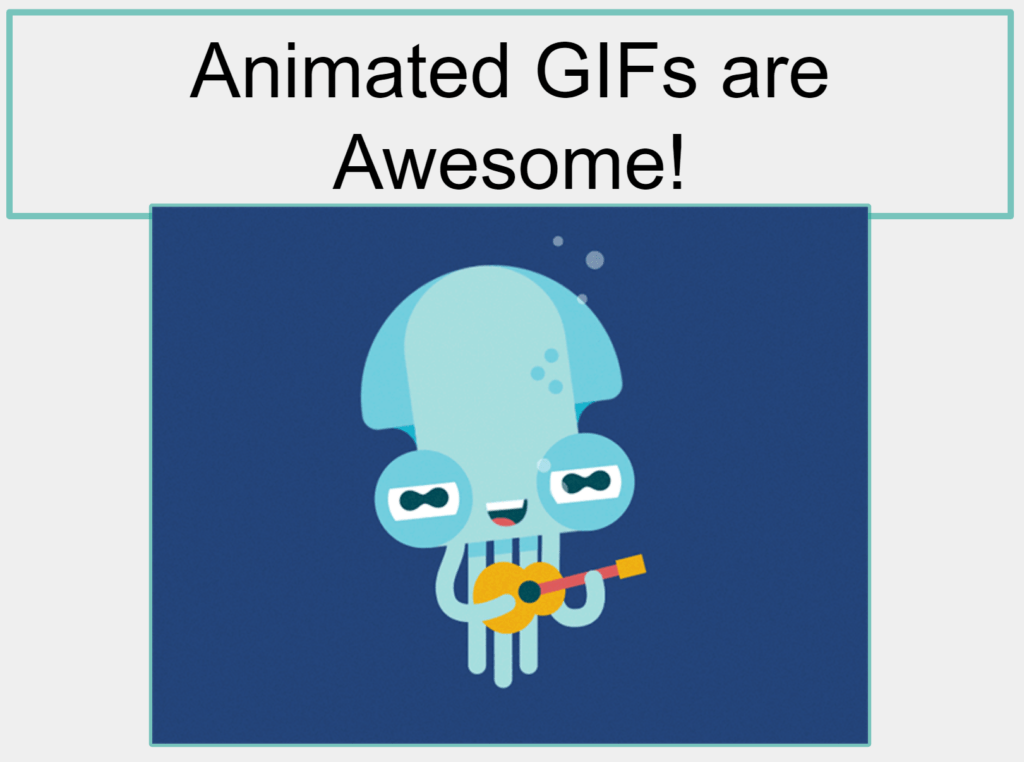
Make any adjustments to this image, which we will consider to be “Slide One” or the first in a sequence of images in our animated GIF. Be sure to export this image. Adjust the filename to be “slide1.png.” This naming scheme helps you keep track of which image is first in your animation sequence.
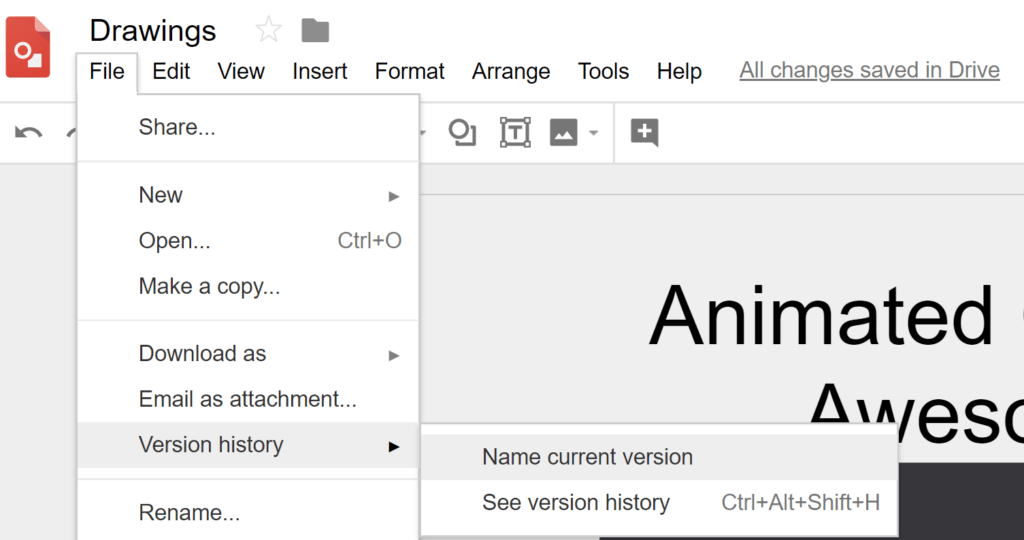
3) Give that image its own name in revision history:
We’re going to name this image. As you can see from the screenshot below, I have made several slides, naming each along the way.
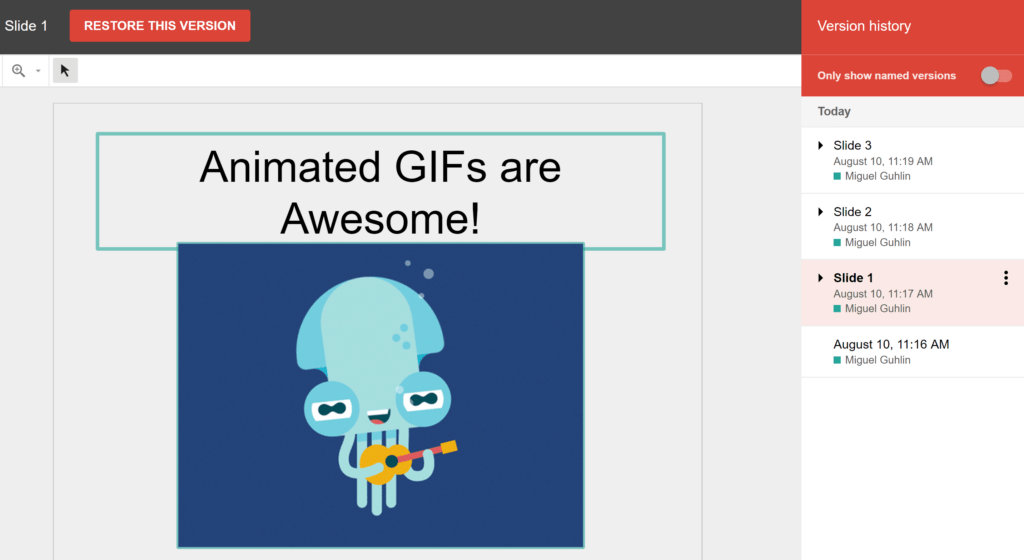
Once you have created the image as you want it, File–>Export the image as you like. Assign the latest version a name in Revision History. The main benefit of this step is to make it possible for you to jump to your desired image version. You are able to adjust each version to your satisfaction.
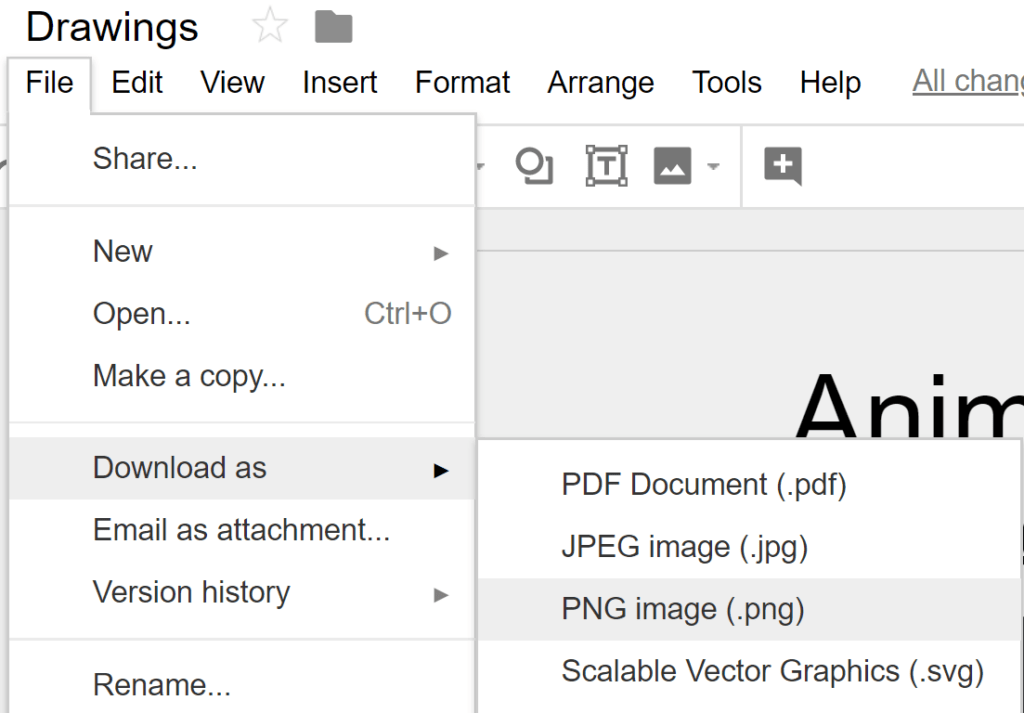
4) Save each image version: Be sure to save each version of the image. Do that with the File->Download as… [PNG] command:
6) Repeat steps 2-4. You can repeat these steps as needed. Be sure to save each image and assign it a name in revision history (e.g. Slide 1, Slide 2, Slide 3).
Steps to Follow: Making the Animated GIF
7) Drop images into Gifmaker.me to animate them.
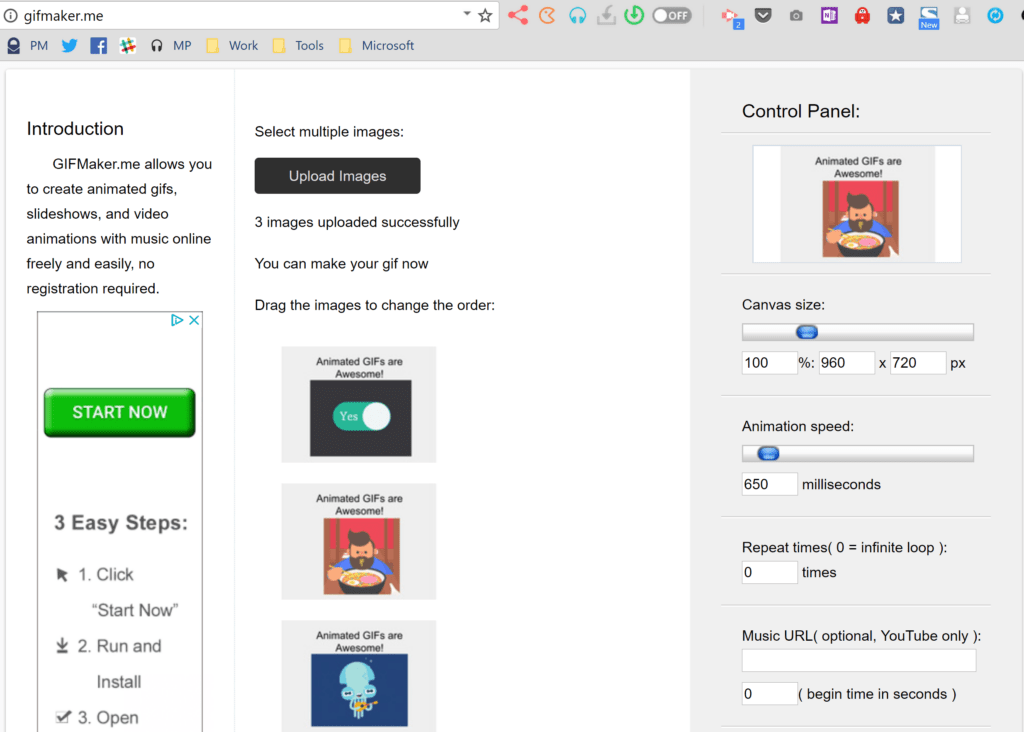
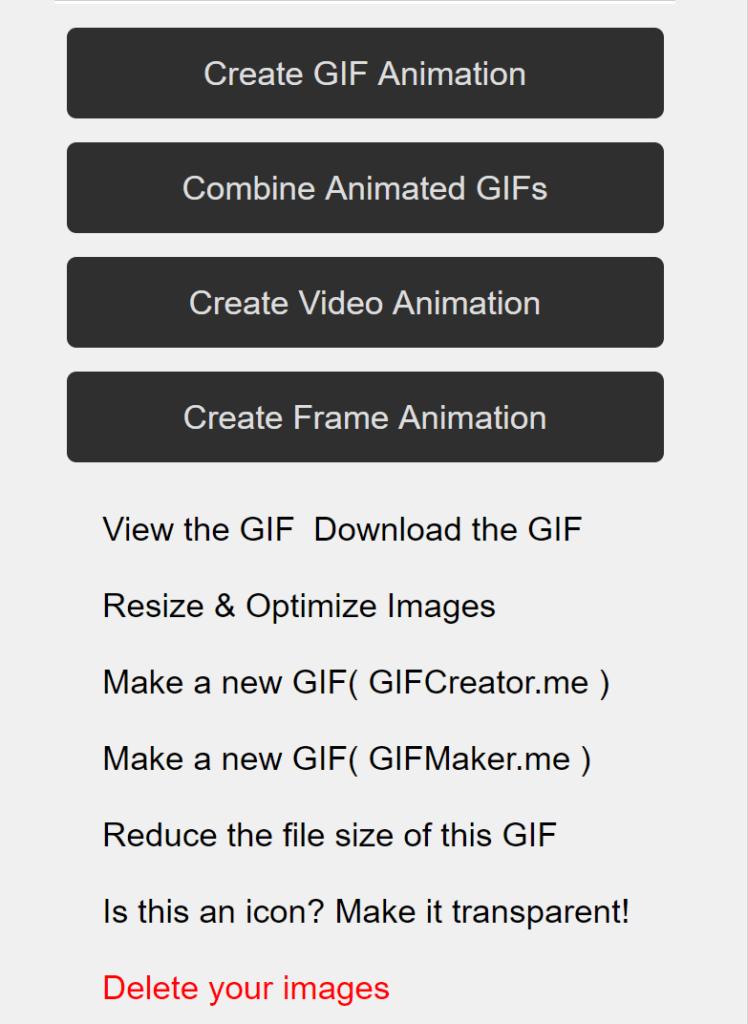
You can make adjustments to the speed of your animated GIF. If you scroll down on the Gifmaker.me website, you will see additional options, as shown below. One of these options lets you get the GIF and save it to your computer (“Download the GIF”).
Finally, upload your GIFs on the padlet above together with a description of your working process. This is the rubric which will be used to assess your final work:
No comments:
Post a Comment